Categories
Categories

How to Connect Car Battery Cables and Choose What Size Jump Box

Meta title: How to Connect Car Battery Cables — What Size Jump Box? Meta description: Learn safe steps to connect car battery cables and how to choose the right jump box. Tips on amps, cable gauge, cold starts, and a buyer checklist.
Nov 13th,2025 110 Views

Meta description: Learn safe steps to connect car battery cables and how to choose the right jump box. Tips on amps, cable gauge, cold starts, and a buyer checklist.

Most drivers can safely connect car battery cables and use a compact jump starter by following a clear step sequence. If you’re asking "what size jump box do i need", choose by engine type and climate: small cars often need ~1000A, large V8s or diesel trucks benefit from 2000A+. 

Safety first
Working with batteries and high-current jump starters can be dangerous. Always read the jump starter manual first, wear eye protection and gloves, avoid sparks near vents, and never attempt to jump a visibly damaged or frozen battery. The procedure below is general guidance—follow your vehicle and product instructions.

Step-by-step: How to connect car battery cables (safe, common method)

  1. Prepare
  • Park both vehicles (if using another car) or position your jump starter so cables reach comfortably. Set parking brake and turn off engines, lights, radio, and accessories.
  • Put on safety glasses and gloves. Inspect the car battery, terminals, car battery cable ends, and clamps for corrosion, cracks or loose parts. Clean terminals if necessary.
  1. Identify terminals
  • Locate the positive (+) and negative (–) battery terminals. Positive is usually red or marked “+”; negative is black or marked “–”.
  1. Attach the positive clamp first
  • Clamp the red (positive) lead to the positive terminal on the dead battery. If using a donor vehicle, clamp the other red lead to the donor’s positive terminal.
  1. Attach the negative clamp to ground
  • Clamp the black (negative) lead to the donor vehicle’s negative terminal OR to an unpainted metal ground point on the dead vehicle (engine block bolt or chassis) at least 12 inches away from the battery. This reduces the chance of sparks near the battery.
  1. Start the donor or turn on jump starter
  • If using a donor car, start it and let it run a few minutes. If using a jump starter, follow manufacturer instructions to turn it on or enable the output.
  1. Start the dead car
  • Attempt to start the vehicle with the dead battery. If it doesn’t start, wait 30–60 seconds between attempts to avoid overheating starter and to let the jump starter recover.
  1. Remove cables in reverse order
  • Once the engine runs, remove clamps in reverse: negative clamp from the ground point, negative from donor (if used), positive from donor, then positive from the previously dead battery. Keep cables away from moving parts.
  1. Let engine run and recharge
  • Let the started vehicle run for at least 15–30 minutes (or drive) to allow the alternator to recharge the battery; consider charging the battery fully later with a proper charger.

Connection steps checklist (copy-paste friendly table)

Step

Action

Why

1

Park, turn off accessories, don PPE

Prevent electrical loads & protect you

2

Inspect battery, cables, clamps

Avoid short circuits and poor connections

3

Connect red clamp to positive (+) battery terminal

Ensures correct polarity

4

Connect red clamp to donor positive (or jump starter +)

Completes positive circuit

5

Connect black clamp to donor negative OR chassis ground

Reduces spark risk near battery

6

Start donor or enable jump starter; attempt start

Provides cranking current

7

Remove clamps in reverse order (negative first)

Prevents accidental shorting

8

Run engine and recharge battery

Restores battery capacity

Why clamp order and grounding matter
Connecting positive first and negative last minimizes the risk of short circuits. Attaching the negative clamp to a chassis ground rather than the dead battery negative terminal reduces the chance of igniting hydrogen gas that can vent from a failing battery.

Choosing the right jump box: what size jump box do i need
When deciding what size jump box do i need, consider three specs: peak amps (marketing number), cranking/starting amps (sustained current available for seconds), and battery capacity (Wh or Ah). Peak amps matter less than cranking amps and capacity for real starts.

  • Small cars, hybrids, and motorcycles: a 400–1000A jump box with decent capacity is usually sufficient.
  • Sedans and small SUVs (1.5–2.5L petrol): 800–1200A recommended—1000A is a common sweet spot.
  • V6 engines and larger sedans (2.5–4.0L petrol): 1000–1500A depending on cold climate and battery age.
  • V8 petrols, light-duty diesel, trucks, and fleet vehicles: 1500–2000A or higher; higher capacity (Wh) is critical for multiple starts.

Engine displacement → recommended jump box sizing (copy-paste friendly table)

Engine type / displacement

Typical recommendation

0.8–1.6 L petrol / small cars

400–1000A

1.7–2.5 L petrol / sedans, small SUVs

800–1200A (1000A common)

2.6–4.0 L petrol / V6

1000–1500A

>4.0 L petrol / V8

1500–2000A+

Light diesel (1.6–2.5 L)

1200–2000A

Medium/heavy diesel / trucks

2000A+ recommended

Car battery cable specifics you must know
The car battery cable quality, gauge and clamp design determine how effectively current reaches the starter. Use heavy-gauge, short cables for best performance—thicker cables (lower AWG number or higher mm²) reduce voltage drop. For high-amp jump starters and trucks, use cables rated to handle the peak and cranking currents. Inspect cable insulation, crimps and clamp jaws regularly; poor clamps can cause high resistance or slip off under load.
Procurement checklist (what to verify before buying)

  • Cranking/starting amps (not only peak amps).
  • Battery capacity in Wh or Ah and estimated starts per charge.
  • Cable gauge and clamp quality; look for braided copper and solid jaws. (This covers your car battery cable needs.)
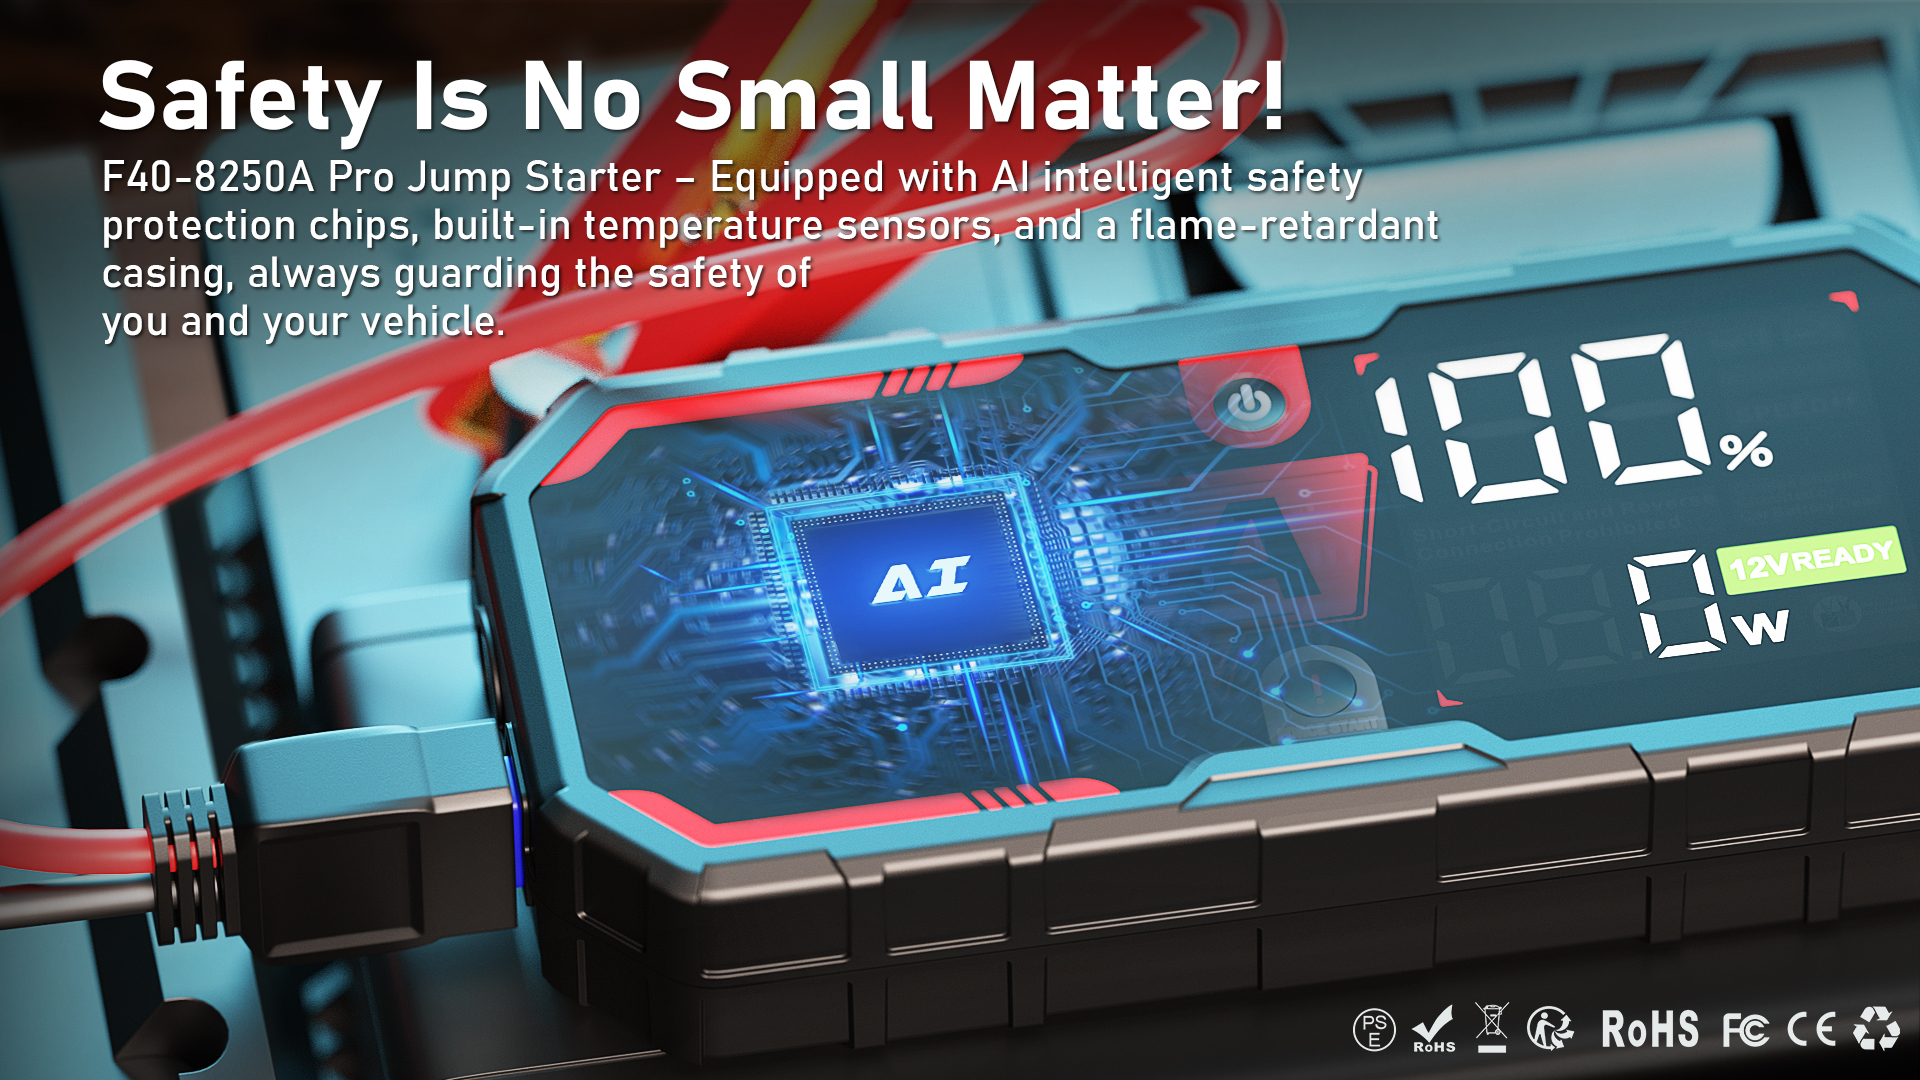
  • Safety features: reverse polarity protection, spark-proof clamps, short-circuit and over-temp cutoffs.
  • Certifications: UN38.3 for lithium, UL/CE standards, and third-party test reports.
  • Recharge time, charger type, and whether pass-through charging is supported.
  • Weight and dimensions—confirm trunk storage.
  • Warranty and after-sales support plus real-world reviews, especially from cold-weather users.

Maintenance and storage tips

  • Keep the jump starter charged per manufacturer guidance—top up every 1–3 months if unused.
  • Store in a cool, dry place; avoid freezing temperatures for lithium units.
  • Inspect and clean clamps and car battery cable ends; remove corrosion with baking soda solution if needed.
  • Replace damaged cables or units showing bulging or excessive heat.

Common mistakes to avoid

  • Connecting negative first or removing positive first (reverse order increases risk).
  • Using undersized or corroded clamps/cables that create high resistance.
  • Attempting to jump a frozen, leaking, or visibly damaged battery.
  • Assuming peak amps guarantee successful starts—check cranking amps and capacity.

FAQ (short)
Q: Can a 2000A jump starter damage my small car?
A: No. The vehicle’s starter draws only what it needs. A higher-capacity jump starter provides margin and is safe when used correctly.

Q: How many starts per charge can I expect?
A: Varies by capacity—small 1000A boxes: ~3–10 starts; larger 2000A units: ~8–30 starts. Check manufacturer specs.

Q: Is it safe to clamp negative to the battery post?
A: It’s safer to attach the negative clamp to a grounded metal point away from the battery to avoid sparks near vented gas.

Q: How often should I inspect car battery cable and clamps?
A: Inspect every 3 months or after any jump-start event; replace if you see corrosion, fraying, or poor clamp tension.

Q: What size jump box do i need if I drive in very cold climates?
A: In extreme cold, choose higher cranking amps and larger capacity—move up a size from the table recommendations (e.g., 1500–2000A for larger engines).


Partner With Us

Join us as a partner! Enjoy free samples and testing opportunities. Please fill out the form to start a successful collaboration!
Your Name*
Your Country*
Your Email*
Your phone number*
Your Company's Name*
Your Website URL
Leave Messages to get your free sample
We use Cookie to improve your online experience. By continuing browsing this website, we assume you agree our use of Cookie.